To fetch data from Dynamics 365 CRM using APIs, we first need to register an app in Azure Active Directory (Azure AD). Follow these simple steps:
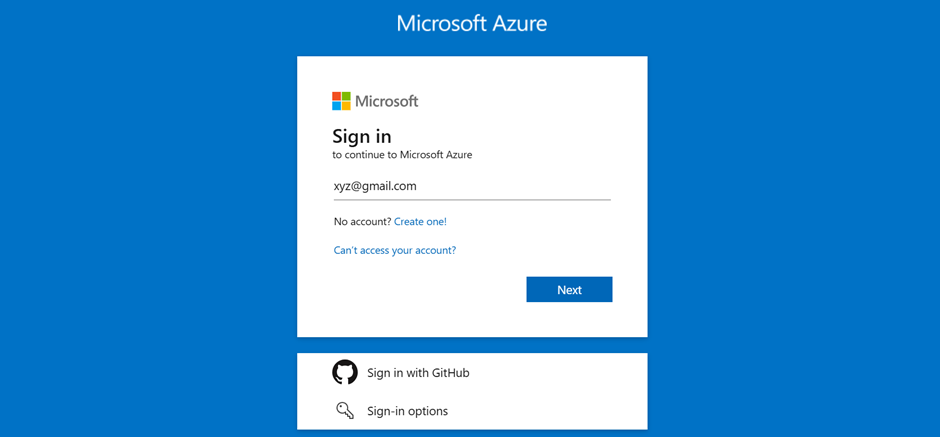
Step 1: Sign in to Azure Portal
Go to Azure Portal and sign in with your credentials.
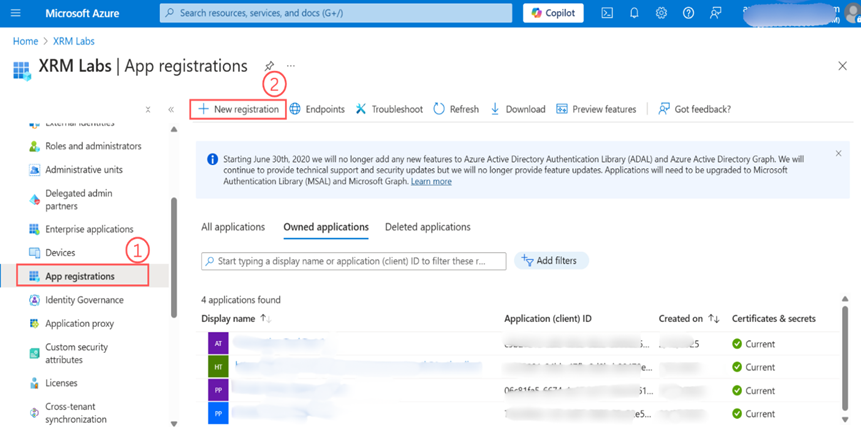
Step 2: Navigate to App Registrations
1. In the left menu, search for and select Azure Active Directory.
2. Click on App registrations > New registration
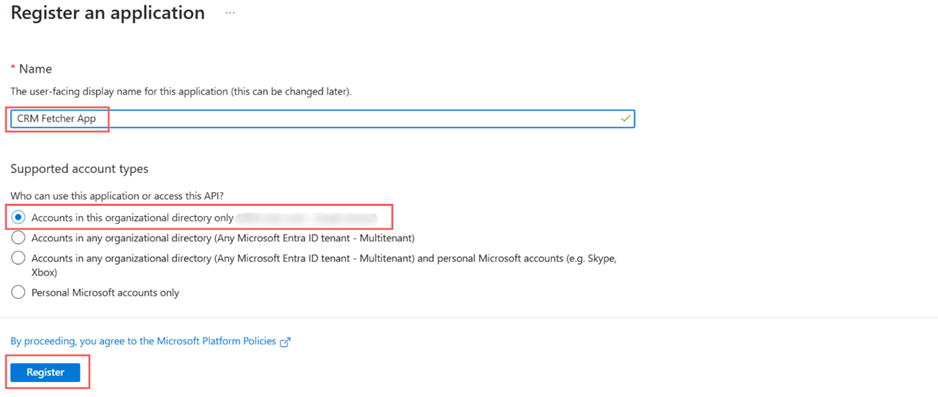
Step 3: Provide App Details
1. Enter a Name for your app (e.g., "CRM Fetcher App").
2. Choose the Supported account type based on your requirements:
-
- "Accounts in this organizational directory only" (Default)
3. Click Register.
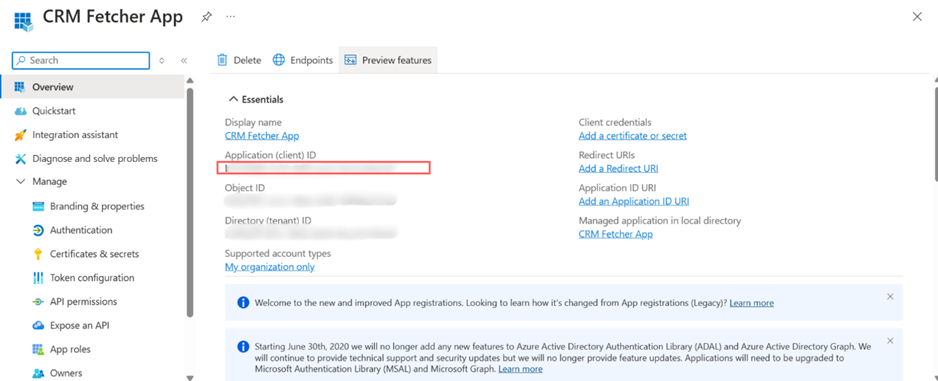
Step 4: Copy Application (Client) ID
Once registered, copy the Application (client) ID from the Overview page. You’ll need this for authentication.
Step 5: Add API Permissions
1. Go to API permissions > Add a permission.
2. Select Microsoft APIs > Dynamics CRM.
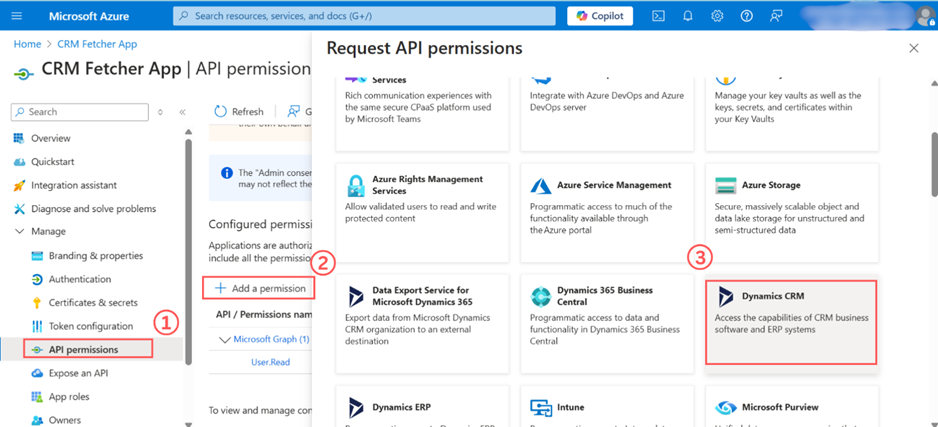
3. Choose Delegated permissions and select user_impersonation.
4. Click Add permissions.

Step 6: Grant Admin Consent
1. Click Grant admin consent for [your tenant].
2. Confirm the action.
Step 7: Generate a Client Secret
1. Go to Certificates & secrets > New client secret.
2. Add a description and select an expiration period.
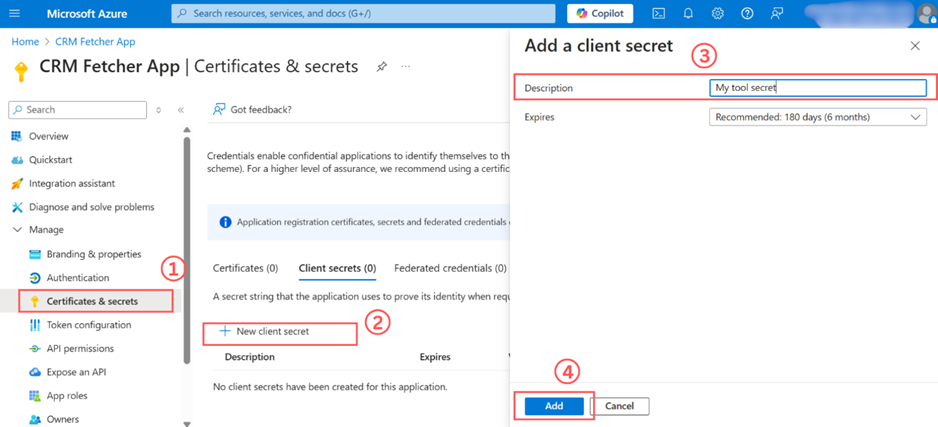
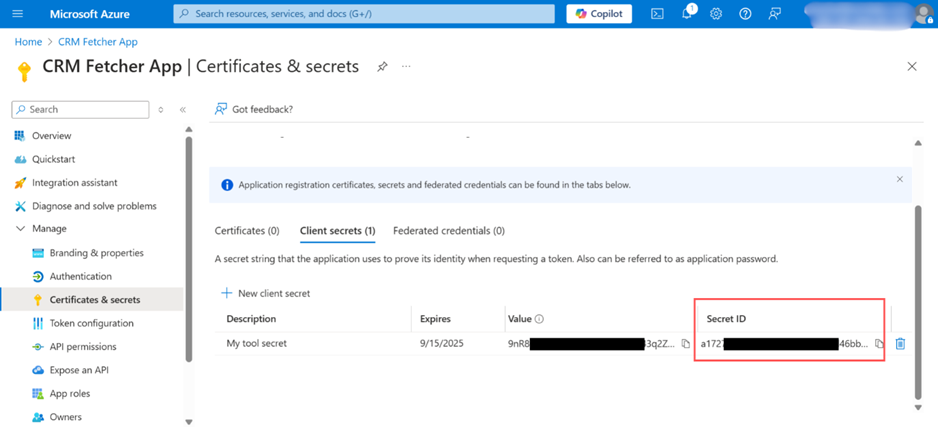
3. Click Add, then copy the Value (this is the client secret).
Step 8: Configure Redirect URI (If needed)
1. Under Authentication, add a redirect URI if using OAuth (e.g., http://localhost for testing).
Step 9: Save Your Credentials Securely
Keep the Application ID and Client Secret safe. You’ll need them for API authentication.